
For some time I have wanted to build a wooden block plane. For starters, I want to build a small apron style plane similar to the one shown on Hock Tools website.

Plane shown on Hock Tools website.
I did not, however, want to buy a kit. I want to build this thing from the ground up and make every part of it. The logical place to start is to build a plane iron and then build the plane around the iron. So here we are at the beginning, the birth of a plane iron.
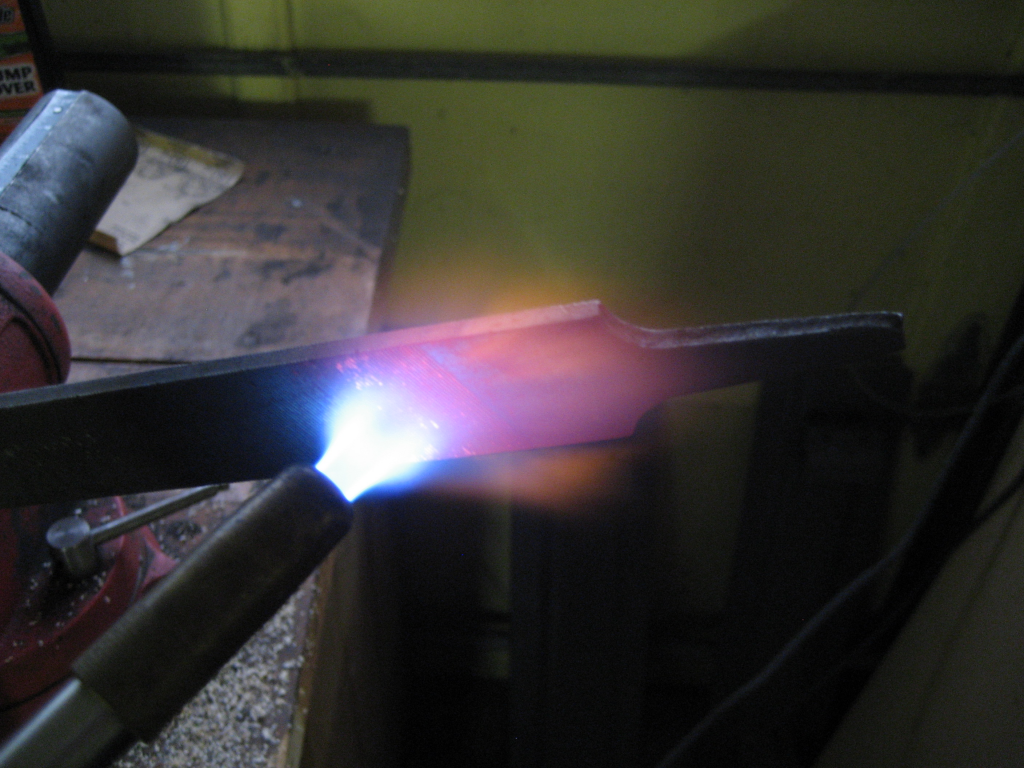
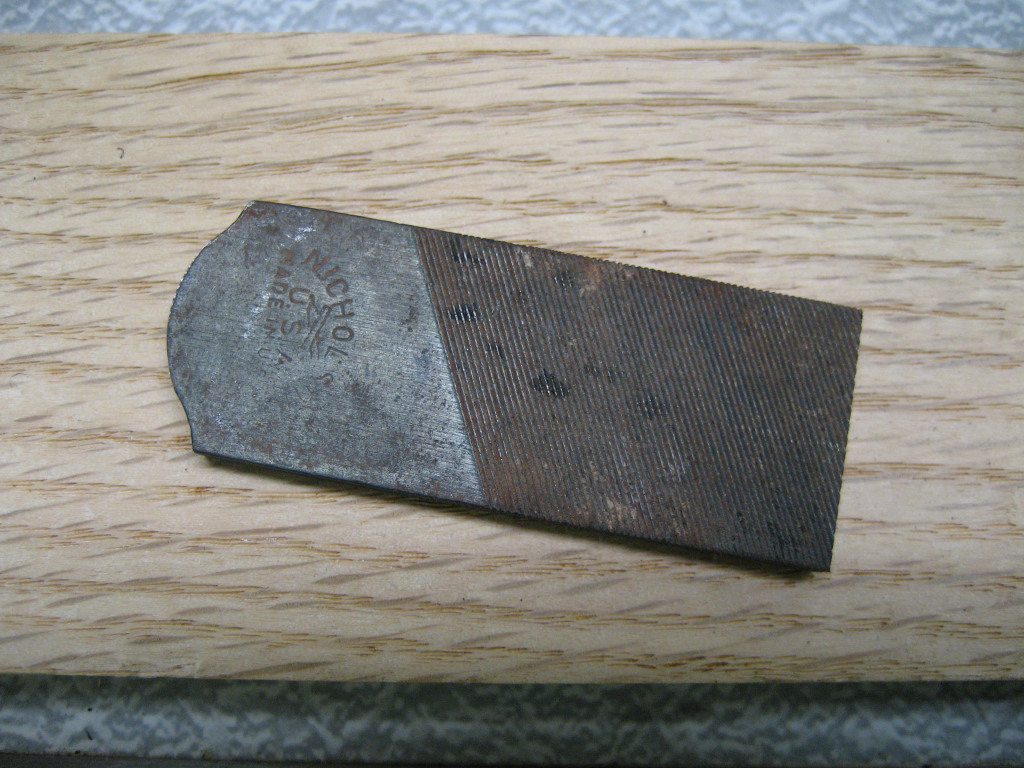
First we start with the steel. I have a few old Nicholson files laying around that are 1″ wide and about 1/8″ thick which is just the right size for this small plane iron. As is, the steel of the file is too hard and needs to be softened. To do this, I took a torch and heated up an area of the file to a red heat that would get used for the iron. Then it is slowly cooled down to room temperature which makes the steel plenty soft to cut and machine.
After the steel has cooled I cut the file off to 2.5″ in the metal cutting bandsaw.
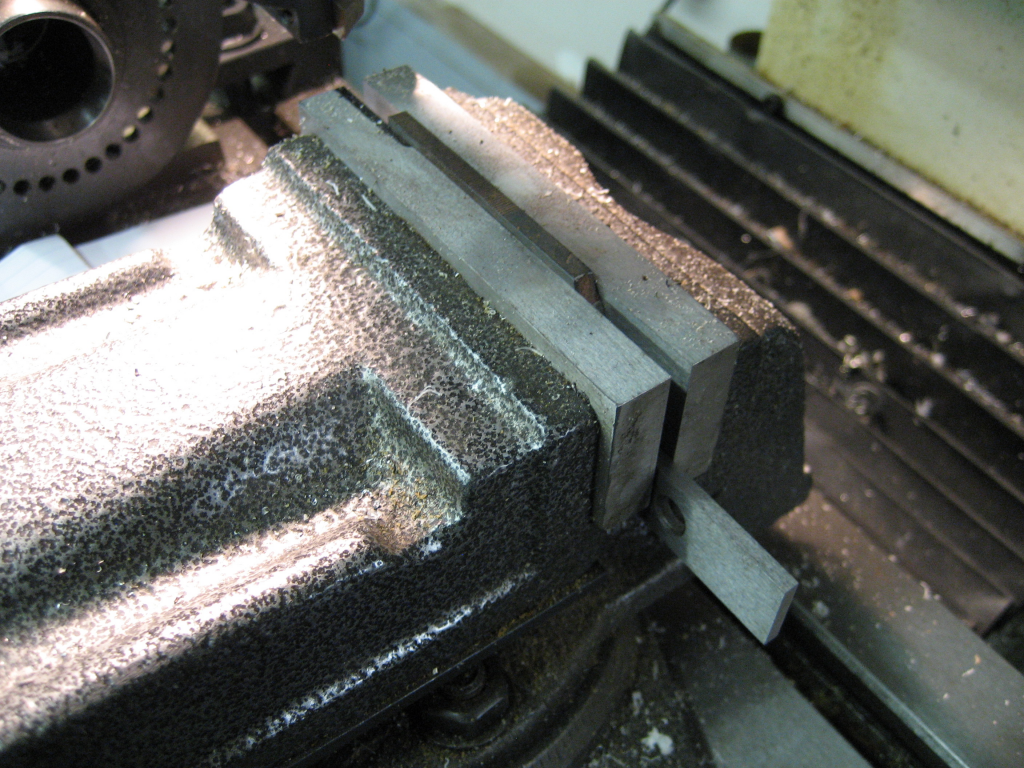
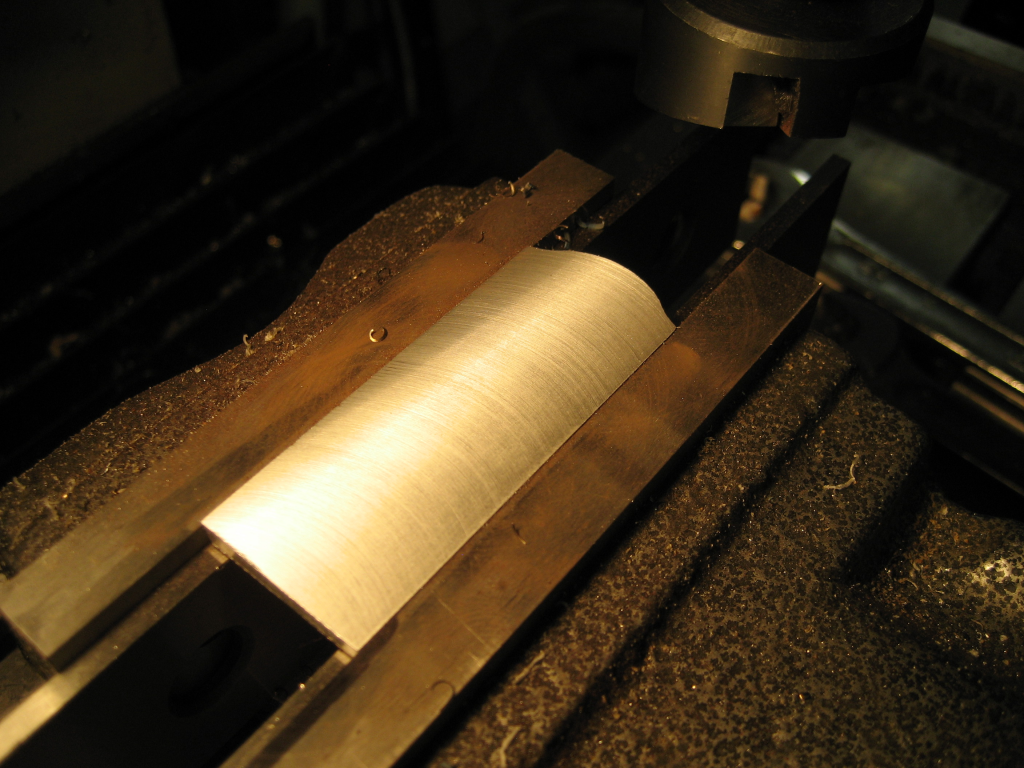
Next I decided to take the more precise method of dressing the would be iron with the milling machine. You could just file or grind your blade if you do not have a milling machine, but since I do, I decided to use it. The first order of business was to flatten and uniform the edges. This is done by using a parallel to hold the piece at the proper height and then clamp it in the vise securely. After both edges are cleaned up and made perfectly parallel, I then machined down both faces of the iron with the same set up as before.
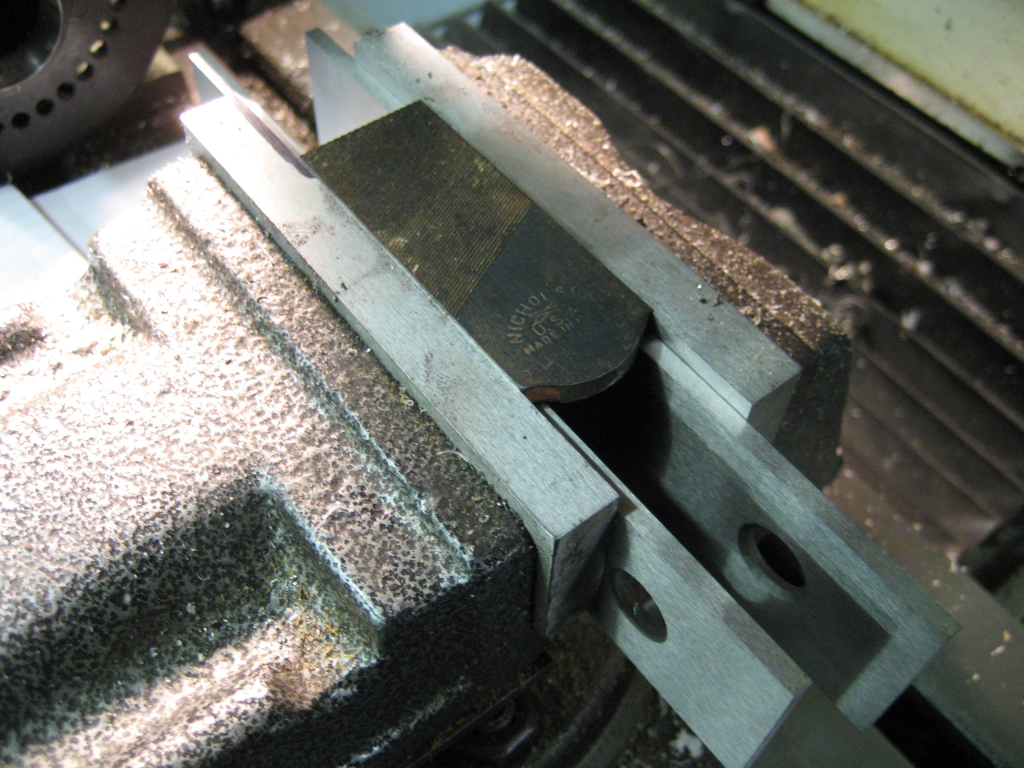
First pass milling the face of the iron with a flycutter.

Final pass after three passes.
Next in Part 2, we will cover creating the bevel and heat treating the iron.
Until then please feel free to comment and ask questions if you have any.
Thanks,
Dave

Very interesting! I will follow you for sure.
Andrea
Pingback: Building a Wooden Plane, Part 2 – Making the Iron | Traditional Skills - David Sims