As is always the case on our homestead there is never an idle moment. If it is not working on building and finishing the house, doing driveway improvements, or any of the other homestead chores, I am taking on another building project. This will be a multi part series on building a garden shed. Click these links for Part 1, Part 2.
This project will cover the building of an 8′ x 16′ garden shed. This is something we have needed to do for over a year now. The shed will ultimately be used as a garden shed, but the immediate need is a place to store things while building the house.
That is the hard part of living in the house you are building is that you end up having to work around everything, which makes it take much more time to get anything done since you are constantly moving things out of the way.
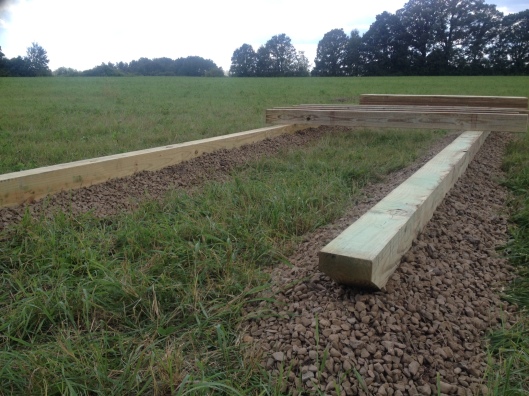
I designed this shed to be somewhat portable. It is on 6″x6″ x 16′ pressure treated timbers. There were several reasons for this, but the two most important were ease of moving it if need be, and to hopefully help support the weight a little better then on blocks in our clay soil.
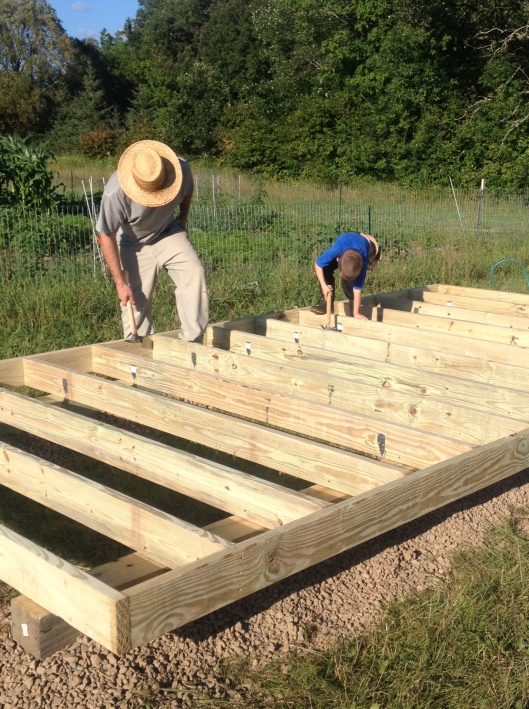
The floor joists used are 2″x6″ x 8′ pressure treated lumber. They span 5′ between the 6″x6″ beams and are laid out 16″ on center and toe nailed and secured by Simpson Seismic / Hurricane Ties. Here is my 5 year old boy and myself nailing the ties.
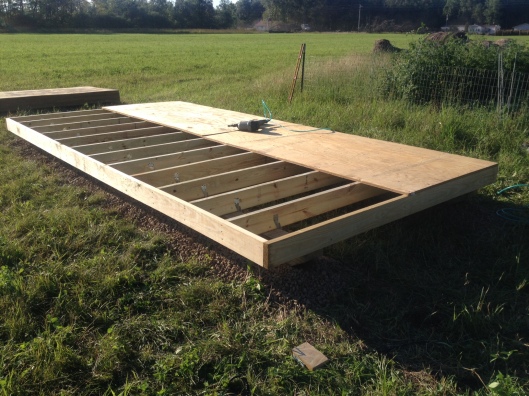
The next thing to do was to add the sub flooring which consisted of 3/4″ pressure treated plywood. Not shown in the photo are the row blocks that go between the joist.
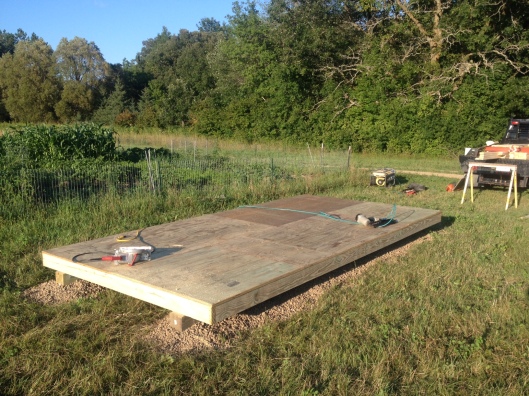
At end of a half of a days work, we have the completed deck ready for walls.
Keep watching as in the next post I will show the framing and sheathing of the walls.


Timber Frame…???
No just a stick frame building. Framing the walls will be in part two.
Pingback: Building a Garden Shed – Part 1 | Finding The Good Life
Pingback: Building a Garden Shed – Part 2 | Traditional Skills - David Sims